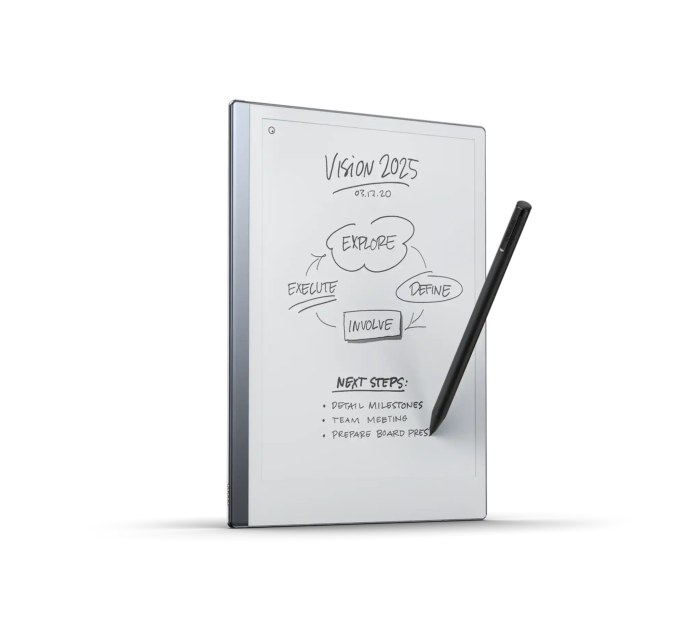
For those who have never heard of the reMarkable tablet – it’s an e-link tablet without a browser, or an iPad without digital distractions, so to speak.

You can only use it to read files and write/draw on the tablet with its stylus, whose head is replaceable and wears down the more you use it. The main selling point for reMarkable 2 is its stylus, which provides a paper-like writing/drawing experience.
I bought the reMarkable 2 in late 2023 with a package forwarding service, so it took me about 1 month from ordering to receiving the device. I thought the device would provide a more immersive experience when reading content I saved on Pocket, a popular save-and-read-later application of which I was a heavy user back then. However, as I gradually became a more selective reader, the tablet has been in my drawer for a while.
At the end of 2024, I rented a new place, and to make my house moving easier, I gave away some less commonly used items, like a rowing machine I bought during the pandemic. The reMarkable 2 tablet is in that category. However, the tablet was expensive (like $500), and I felt I hadn’t given it enough chance to prove its usefulness. As such, I want to give it one last shot to see if I can make the usage stick.
But first, I must understand what kind of problem the tablet could solve.
Step 1: Identify the Problems to Solve
In retrospect, at the “old” age of 32, my main problem in the past decades was having too many side projects, many of which didn’t go anywhere due to my short attention span and poor planning.
I figure it would be much easier to launch a product these days with the help of AI by using it to break down a project into actionable steps. Then, with those actionable steps, I can probably use the tablet as a physical Post-it for to-dos. So maybe a weekly planner with a daily to-do list on it? I can also set a recurring event each Sunday to review the past week’s performance and create a new weekly planner for the following week.
Okay, let’s do this.
Step 2: Create the Template
As the tablet is just a better version of a physical paper, starting from a blank page whenever I want to create my weekly planner would create an immersive mental hurdle. Therefore, the next thing to do is to create a template that I can use to make my weekly planner.
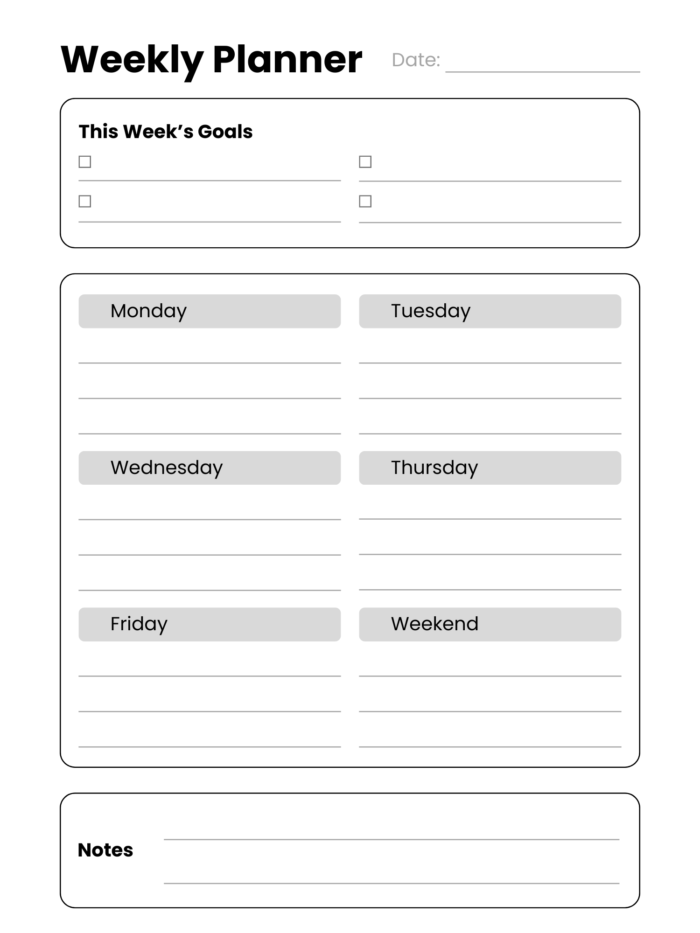
To start, I asked Claude for some examples. Then, I searched around to find the perfect size (157.794 x 210.393 mm) for the doc on reMarkable 2. Afterward, I went to Canva to create a template, which was easier than expected, coming from someone who mainly used Photoshop to make creatives for marketing.
For those wondering how the template looks, please check below. The blank space is reserved for goals, to-dos, and notes. And yes, I will write them down and check the finished to-dos with the marker.

Step 3: Set Up Recurring Events and a To-Do App
With the template in place and verified that it looks perfect on the hardware, I can now set up recurring events on my calendar for the weekly planning/reviewing session. I opt for Google Calendar for this purpose, as I’ve been using it for over a decade.
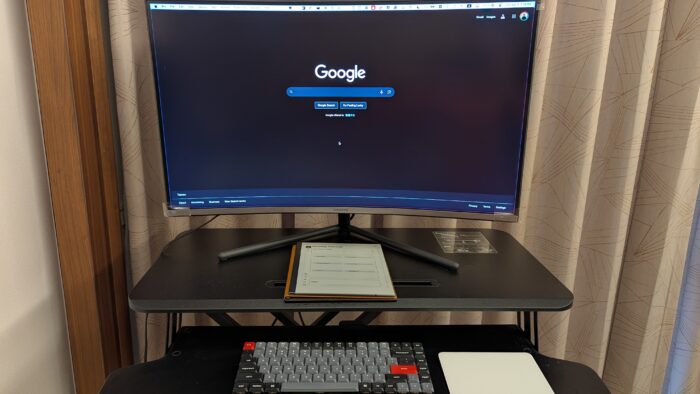
Once weekly planning is done with daily to-dos on the note, I plan to add them on the Todoist, a cross-platform to-do app. The rationale is that although the note on reMarkable serves as a physical reminder (and I put it on my working table, see below), I don’t always bring the reMarkable with me. Even though there is a reMarkable app, there is no notification to remind you when to do specific tasks. To keep the app and the to-do list on reMarkable in sync, I will manually sync both before going to bed, i.e., finish the tasks on Todoist for the same ones but marked as done from the tablet and reschedule the delayed tasks.

This is the current plan, and we will see how it goes. I’ll consider this experiment successful if I use this system consistently for 4 weeks and complete at least 80% of my planned tasks.
I will update this post and reflect on the results. Good luck to me.
